Sunday, August 28, 2016

Scottish Dundee Cake


So, as I mentioned in an earlier post, I won 2 ribbons for my baking at the MN State Fair this year.  Neither of those ribbons were for my Dundee cake.  The blue ribbon in the photo just demonstrates that my cake was NEAR a blue ribbon winning cake, not a winner itself.

But my Dundee cake is awesome, nonetheless.  Just saying.

The main reason I decided to submit to the ethnic baking category at this year's State Fair is that these Norwegian cake things called Kransekake always seem to win...and they annoyingly always put little Norwegian flags on top.  Like "Look at me!  I'm a Norwegian cake and I'm better than you!"  Living in a state with tons of Scandinavians, it makes some sense that they win.  The cakes are also what I will call "super fancy."  Google them to see a full one....Go ahead, I'll wait.

See?!

There are other countries and ethnic groups who have similarly fancy cakes, but they all have a significant tradition of what I will call "rich people."  The two sides of my family are mostly Irish and Scottish, respectively.  Neither of these Celtic peoples have a tradition of crazy-fancy things in general (well, except for plaid. Plaid is fancy.).  And they both have a well-earned reputation as frugal people who are more humble and practical.

Plus, that Norwegian thing barely counts as a cake.  You don't even slice it.  Gah! What kind of cake isn't slice-able, I ask you?!  (And I answer, a cake that is obviously actually a stack of cookies....oh, well.)

So, basically, I wanted to beat the froo-froo Scandinavian things. At least partially because middle-school me had to defend my Scottish last name because it was called "weird" by all the Scandinvian-named kids in my suburban Twin Cities classroom.  But mostly because it is itself annoying....and not really even a cake.  (Hey, at least I'm honest about my motivations!)

Anyway, Dundee cake is a dessert with hundreds of variations.  Like marmalade, it was first produced on a commercial level by James and Janet Keiller of Dundee, Scotland.  In my research I've seen it made with different types of sugar, with different fruits, in varying sizes, etc.  I've seen people who wrap it tightly and then "feed" it rum, brandy, or whiskey over a period of weeks or months.  I've seen recipes with booze, without booze, with marmalade inside, painted with marmalade outside, etc.  This is my recipe.  It is loosely based off the version in the book A Feast of Scotland by Janet Warren, but I did make a number of changes from hers.

Ingredients
For Cake:
  • 2 cups mixed, dried, non-citrus fruit (I used equal parts golden raisins, currants/zante raisins, traditional raisins, dried cherries.)
  • Approximately 2 cups whiskey for soaking fruit (Select a sweet variety--not smokey or peaty)
  • ½ cup candied peel or dried, sweetened oranges, chopped into small pieces (Yeah, just try to find candied citrus in MN in the summer!  Luckily, right now Trader Joe's sells dried, sweetened orange slices that work nicely)
  • Scant ¼ cup roughly ground almonds (I made this by putting raw almonds in a freezer bag, putting the bag between two towels, and beating on it with a mallet. Seriously.) 
  • Scant ½ cup almond flour (This stuff is pricey!  If you have a food processor, you can probably make it yourself.  Then again, you might just make almond butter that way.  I'm not sure.)
  • 1 cup butter or margarine 
  • 1 cup sugar (I used half dark-brown and half white in my practice baking, and all white in my final version.  Mostly because I forgot when I made the final one.  ooops!)
  • Grated rind of one large (or two small) lemons
  • 3 eggs
  • 2 ¼ cups all-purpose flour
  • 1 teaspoon baking powder
  • 1 Tablespoon milk
  • 1 teaspoon vanilla
  • Raw almonds (at least 45, for decoration on top of cake)
For Milk Glaze:
  • 2 ½ Tablespoons sugar
  • ¼ cup milk


Directions:
  1. The day before making the cake (and at least 2 days before serving cake), soak the fruit:
    • Put mixed dried fruit (but not orange pieces) in a container and pour in whiskey so that all fruit is covered.  
    • Stir fruit to mix, cover container, and let sit overnight in the refrigerator.
  2. Before beginning to make cake, blanch almonds (See previous post for illustrated directions)
  3. Grease and line the base and sides of an 8-inch circular cake pan, then grease the lining.
  4. Pre-heat oven to 325 degrees Fahrenheit.
  5. Drain whiskey off fruit, return fruit to container, and then mix in orange pieces, ground almonds, and almond flour  
  6. Beat the butter/margarine until soft and creamy
  7. Add sugar and lemon rind and beat until light and fluffy
  8. In a smaller bowl, beat eggs lightly, then add gradually to the butter/sugar mixture, beating well between additions.
  9. In a separate bowl, sift baking powder and flour together.
  10. Stir flour mixture, 1 Tbsp. milk, vanilla, and fruit into butter/egg/sugar mixture.
  11. Spoon batter into cake pan (it will be very thick), spread batter to sides, and then put a slight hollow in the center.
  12. Place almonds on the cake surface in a decorative pattern (circles are traditional). Do not press almonds down into batter, but make sure they are touching batter and not just perched on top. 
  13. Bake at 325 degrees Fahrenheit for 90 minutes and then check with a cake tester or toothpick.  Bake a few more minutes, if necessary, until cake tester comes out clean.
  14. While cake is baking, make milk glaze by warming milk and then stirring in sugar until it is dissolved
  15. Add milk glaze to cake-top with a brush or a spoon, and bake for 3 to 4 more minutes.  (Almonds will look shiny and the glaze will help keep almonds on top of cake.) 

  16. Cool cake in pan for at least 15 minutes, then turn out and cool completely on wire rack, removing lining papers.
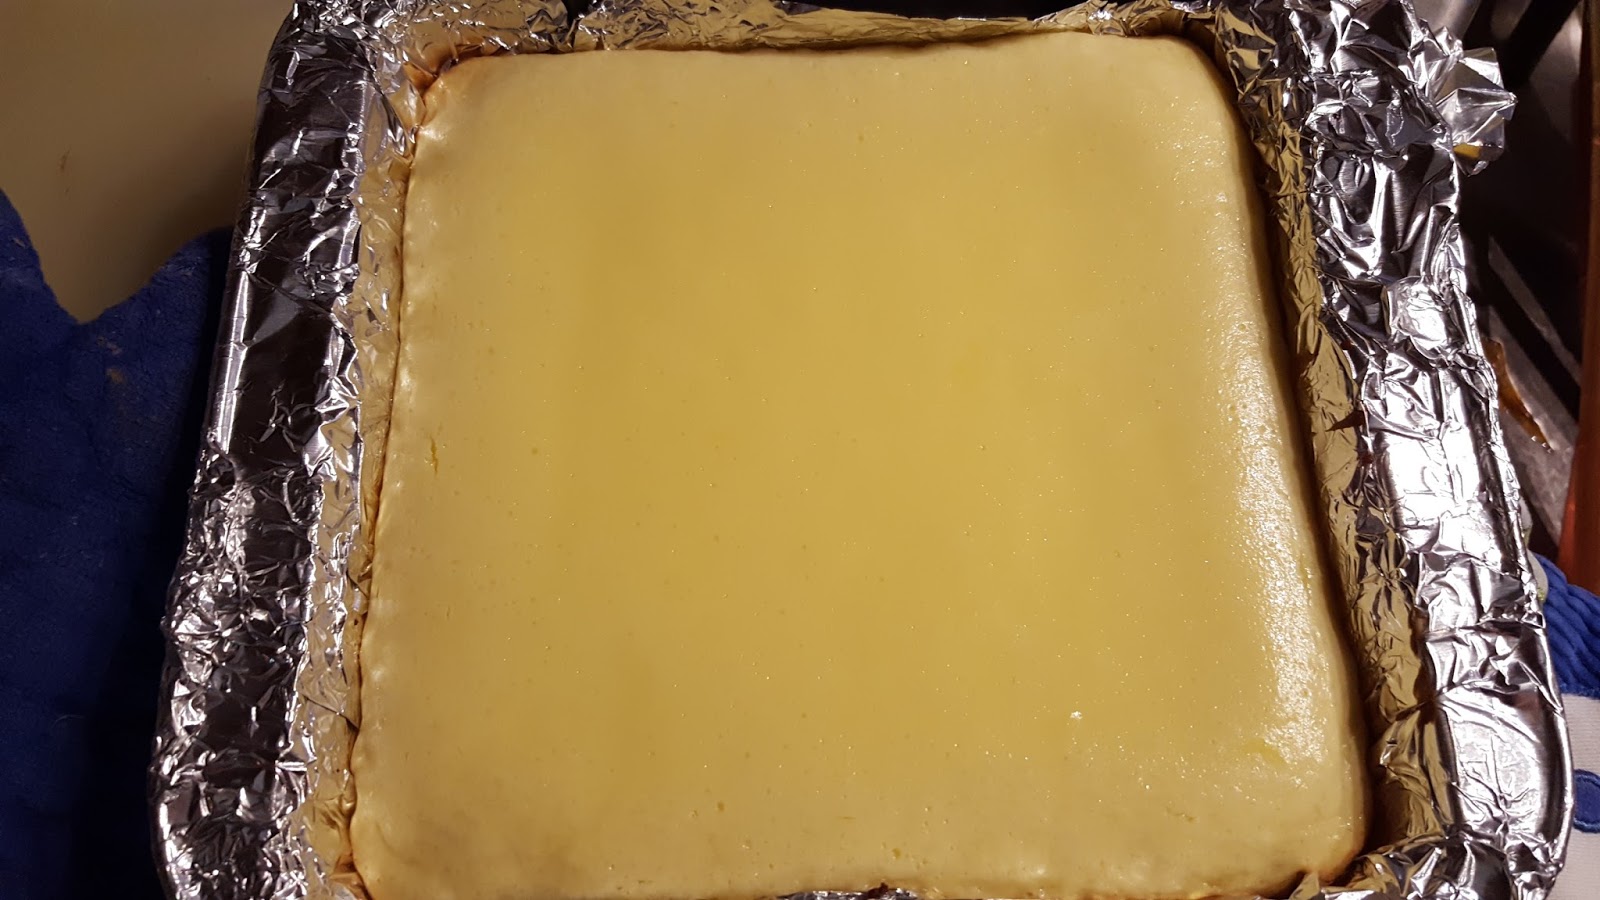
  17. Wrap cake in aluminum foil and let sit at room temperature for at least a day before serving.


Saturday, August 27, 2016

State Fair Baking 2016: I am a Blue Ribbon Winner!


Last year, after many years of talking about entering baking contests of various types, I finally jumped into the high-risk-high-reward (er...not really, though) world of competition baking.  I entered two things in the 2015 Minnesota State Fair Creative Activities-Baking contests: an angel food cake using Grandma's recipe and a snickerdoodle for the State Fair competition where everyone uses the same recipe.  Neither won a ribbon, but both were scored, so I was pretty happy (the rules state that in large lots all entries will be evaluated but only the top 25 will get a score).  Also, the snickerdoodles were amazingly delicious and mine were truly beautiful to behold.  I'll have to blog that recipe at some point.

For this year's State Fair, I submitted 3 things to the Creative Activities-Baking:
  • Grandma's angel food (in the angel food category)
  • Peanut butter quickbread (in the non-traditional quickbread category)
  • Dundee cake (in Ethnic Baking-cakes)
After a co-worker mentioned that the competition for baking with honey--for the Honey and Bees Horticulture/Agriculture categories--was not as intense, I also submitted a honey chiffon cake.

I was very happy to have all my entries on display at the fair and to win two--two!--ribbons for my efforts.  My angel food won 5th place and my honey chiffon won 1st place (YAY!  BLUE RIBBON!!)

For anyone who is interested in trying something new, submitting to the MN State Fair is remarkably easy.  No need to enter at the county level, just follow directions, register online on time, and drop off your entry on the correct day.

Here's me, really late on Friday night, with my 3 entries (peanut butter in the foreground, Dundee cake in the middle, and angel food cake cooling in the pan). 
This year, the Saturday morning drop off for Creative Activities was complicated by rain.  Everything was covered in plastic, though, so it stayed dry.  I borrowed a friend's wagon for transport and made my way to the Education Building, where the drop-off entrance was located.

Seats in the wagon made it easier to keep my items separated.
OK.  I'll be honest: I actually made my way to the Creative Activities Building, which is connected to the Education Building and where the instructions said to go.  With the rain, though, they moved the entrance so the line would be mostly inside..  It was nice of them to do that, but their signage was a little lacking.  I walked right by the door and its tiny sign:


Here's the close-up of the sign.  Umm....that's really small.
When I was almost to the door, other competitors in front of me were turning around and we all went back to the correct entrance.  The sign from this direction was much more evident:

Much harder to miss the sign that was in this direction.

Inside, the line wound around.  Hilariously, there were stanchion posts but no ropes between them, and PEOPLE STILL LINED UP AND WOUND AROUND THEM PROPERLY.  It was one of the most midwestern things that I've seen in a really, really long time.  

    
   After winding around for a while, we ended up in the Creative Activities annex, where nice people officially took in our baked goods.  Everyone was very professional and super-efficient, and I even had to sign for what I was dropping off.  (I also had a whole conversation about how to blanch almonds with the ladies who helped me.  I encouraged them to do it themselves because it is so easy!)  

After waiting in line for about 40 minutes and then dropping everything off, I got a packet of yeast and the world's tiniest bag of Gold Medal flour for participating.  Honestly, why do they even make a 2 lbs. bag of flour?  It looked so cute and fit in my not-empty-at-all purse (a good thing, with the rain outside).  But it was sort of silly, too.   

On the subject of cute-but-silly, I was carrying a giant Mickey Mouse umbrella with ears on it.  It used to be my Mom's but she recently gave it to me.  It is spectacularly cute.  And, apparently, when I carry it I bring a smile to everyone's face.  Everyone that passed me--as I carried that umbrella and pulled that wagon--started smiling or smirking when they saw me.  Every. Single. Person.  One woman even stopped her car in the middle of the road, rolled down her window, and yelled out at me "Your umbrella has ears!"  Needless to say, I felt pretty good about bringing some joy to an otherwise gloomy day.

After the 3 regular baking items were dropped off the Saturday before the start of the Fair, the cake for the honey category needed to be dropped off on Tuesday morning at the Agriculture-Horticulture building.  I was working the late shift at work, so this was just fine.  Even better, there was no line.  OK, there was one guy in front of me, but when I walked up another Fair person came up to help me.  It was awesome.  Plus, the lady was very complimentary about my cake, which made me beam like a proud mama whose kid just won a race or got all As on a report card.
Here's the line.  The entire line.  
All in all, the Fair entering and competing experience was a good experience, and one that I will likely repeat.  And the ribbons make it all the more worth while!

Look at that shiny, yellow ribbon!

WE'RE #1 !!!!!  

My Dundee cake wasn't a winner, but it was winner-adjacent.

Peanut Butter Quickbread.  That pink 4th place ribbon wasn't mine...but maybe some day!
Fun fact: I ran spell-check on this blog entry.  Words that Blogger apparently doesn't know: "wagon" and "snickerdoodle."  Blogger's childhood must've been so sad!


Thursday, August 18, 2016

Kitchen Technique Adventures: Blanching Almonds


One of my State Fair baking entries this year is a Scottish Dundee cake, which has concentric rings of blanched almonds on the top as decoration.  Buying blanched almonds is possible, but kind of expensive.  So I decided that I would do my own. 

  1. Buy raw almonds and put them in a heat proof bowl.
     
  2. Boil a pot of water and pour over almonds
  3. Let sit for 1 minute
  4. Drain in a colander and rinse with cold water
  5. The skin on the nuts will start to wrinkle, like this
  6. Rub almond between fingers and the skin will come right off!
     

Thursday, August 11, 2016

Corn Salad with Seasonal Veggies and Feta


This month's food challenge at work was for the "ABCs" of seasonal fruits and veggies: using avocados, blueberries, corn, and/or strawberries.  Normally I'm a baking kinda girl for these, but my folks gave me 5 fresh ears of corn and I felt like it would be a waste to bake it into corn bread or something like that.


Since someone else was already making a salsa (with strawberries...it was AWESOME!), I decided to go with a corn salad.

The original recipe was from Taste of Home online, but I made it my own (subtracting hot sauce, adding avocado, more lime, less oil, etc.)  Here's my version:

Ingredients


  • 3 teaspoons olive oil, divided
  • 1/4 cup lime juice
  • 1/4 teaspoon salt
  • 4 ears of fresh corn, washed and kernels cut off
  • 1 pint-package of grape tomatoes
  • 3/4 of a large cucumber (or equivalent), peeled and chopped
  • 1/2 to 3/4 of a ripe avocado, chopped
  • 1/4 cup finely chopped red onion
  • 2 teaspoons dried basil
  • 1/4 cup crumbled feta cheese
  • salt and pepper, to taste


Directions
  1. Spray a large skillet with non-stick spray.  Add corn and cook over a medium heat, while stirring occasionally.
  2. Move corn to a bowl and let sit to cool while prepping other ingredients. 
  3. Halve tomatoes
  4. Peel and chop cucumber
  5. Finely chop red onion
  6. Chop avocados and put in a small bowl
  7. Add oil, lime juice, salt, pepper, and basil to avocados.
  8. Mix corn, veggies, and avocado-dressing combination in a bowl and stir.
     
  9. Let stand for 10 minutes before serving or refrigerate. 
  10. Stir in cheese just before serving.  


Sunday, July 10, 2016

Easy and Fast Microwave-Steamed Asparagus


I love asparagus, but it always seems like kind of a hassle to do the steaming. So I looked around online and eventually found a recipe from Alton Brown for steaming in the microwave.  It worked like a charm: in only a few minutes and with no extra dishes to clean I had freshly steamed, delicious for a dinner side dish!

Instructions:
  • Clean and trim fresh asparagus spears. 
  • Lay spears on a semi-long length of paper towel (long enough to wrap around a few times)
  • Wrap towels around spears, then wet towels through with water. 
  • Place bundle with seam-side down in microwave and heat on high for 3 to 4 minutes.  
  • That's it!

Key Lime Pie Bars


Since my one of desserts my dad particularly likes is key lime pie (Hi, Dad!)--and because I love it, too--I have tried a bunch of recipes over the years.  In fact, a little over 2 years ago, I put my go-to recipe for key lime pie on this blog.  Check it out if making a full-on pie is what you're after.  

From simple to fancied up, pies are delicious.  However, they can also be a little tricky to serve and people won't always take a whole piece of pie.  The solution to this problem lines up with a time-honored Midwestern (and especially Minnesotan) tradition: make bars instead.  Bars are a wonderful thing.  Everyone can have as much or as little as they like, they are easy to transport and serve, and even if they are fancy-as-all-get-out they aren't intimidating.  

Note: If you want to really impress people--not usually my goal, but maybe it's yours--DO NOT make bars for a party.  They can look amazing and taste like heaven, but people will still say later, "Jenny brought some bars that were pretty good."  All without any kind of tone of awe.  Believe me.  In my experience cakes, pies, and even cookies can be awe-inspiring, but bars are amongst the humblest of the baked-good brethren.  They're right in there with cobblers/crumbles.    

Anyway, a few weeks ago we had a tropical/island themed treat buffet at work as a farewell to a long-time employee.  Rather than try to work on my own pie recipe and tweak it for bars on short notice, I did some searching and found a lovely recipe on Sally's Baking Addiction.  I say lovely not just because they sounded tasty but also because her photos are absolutely mouthwatering.  But she has a successful business based on her food blog, so I refuse to feel bad about my own photos.  So there!  

I changed the ingredients slightly by omitting the lime zest and using regular bottled lime juice.  I also don't have a food processor and used a whisk and spoon instead of a mixer.  But it turned out great!  So good, in fact, that yesterday I made them again for a craft night with friends.  I was told to "bring something that goes with lasagna."  Dessert goes with everything, right?  ;)

Here's the step-by-step:

Ingredients:
Crust
  • 2 cups finely crushed, crunchy gingersnap cookies
  • 3 Tbsp. melted salted butter or margarine (I used the latter)
Filling
  • 4 ounces cream cheese, softened
  • 4 large egg yolks
  • 14-ounce can of sweetened condensed milk (not fat free)
  • 1/2 cup lime juice
Directions:
  1. Preheat the oven to 350 degrees F. 
  2. Line a 9x9 baking pan with aluminum foil, leaving an overhang on the sides, and lightly spray with nonstick spray.
  3. If you haven't already, crush the gingersnaps.  You can use a food processor if you have one.  If not, just do what I do: put the cookies in a freezer bag and use a rolling pin, or a 2 liter bottle of soda...or a glass bottle of Bacardi.  You know, whatever you have on hand :)

  4. Put crumbs in a medium bowl, pour in melted butter, and stir together
  5. Press crumb mixture evenly into pan.  I used a nice solid metal measuring cup.

     
  6. Bake the crust for 10 minutes 
  7. In a large bowl, stir and/or whisk the cream cheese until it is smooth
  8. Mix in the egg yolks 
  9. Mix in sweetened condensed milk and lime juice and whisk until smooth.

  10. All that whisking likely left a ton of air bubbles in the mixture.  Bang the bowl on the counter-top a few times to get rid of some of those. (I know that my filling mixture pretty much matches the color of my bowl, but see.... air bubbles!)

  11. Pour into warm crust.
  12. Drop the pan a few inches onto the counter-top a few times to get rid of more air bubbles
     
  13. Bake for 15 to 18 minutes or until the edges of the bars start to brown and the center is relatively solid.  The edges will also be a bit puffy, like in the photo below.

  14. Allow bars to cool to room temperature
  15. Once at room temperature, refrigerate for at least 2 hours or until cold
  16. When you want to serve, lift foil out of pan, peal off sides of bars and cut.


Makes 16 bars


Tuesday, April 12, 2016

Fancy Nutella-Filled Cupcakes


I made some cupcakes for a baby-shower this week and they got unanimously good reviews.  They were chocolate cake, filled with Nutella, and frosted with almond buttercream frosting.  The finished product is above.  (Or, rather, one of the finished versions.  There were some that were frosted with lavender, too)  

How did I get the filling in?  Easy, I used an apple corer to make uniform and neat holes in every cupcake.  


Then I took a quart ziploc bag, filled it with nutella, and then cut off a corner.  This let me stick the opening into the hole of the cupcake, squeeze, and neatly fill the hole in the cake.  A jar of Nutella filled one batch of 24 cupcakes.  Then I just frosted over the cupcakes (and the filling) with big swirls.