
One of my friends has a really nice, really large table that is perfect for board games and a big crowd of fun people. He--very reasonably--wants people to use coasters for their drinks to keep the table nice. However, he only had two kinds of coasters: disposable cardboard ones (think bar coasters) that somehow keep getting reused and old, cool ones from his mom that are perfect for bottles or cans but are a little small and uneven for mugs, glasses, etc.
To solve this lack-of-appropriate-coaster issue, I decided to make him a set of customized coasters that would work for any beverage. His set of 6 would be from the Avengers, because he freaking loves the Marvel cinematic universe and insisted that we watch the movies all in order before we could go see The Guardians of the Galaxy. (Somehow he thought we wouldn't understand GofG without seeing the other movies. No so much, really, though there were a few inside-moments that built on things from the other films....anyway...)
To make the coasters I first needed supplies:
- The base of the coasters were 4.25 inch square white tiles from the Home Depot. They cost somewhere in the range of 20 cents each and I bought an extra, just in case.
- The images I painstakingly made in a simple Paint program (because that is what I have) and then I had them printed on photo paper at my local Target. I made sure that my images would be exact squares that would fit on 4inch by 6inch photo paper. There was an issue initially with the very edges of my emblems getting cut off, and I had to resize and do them again. The best way seemed to be making the image square, printing it on rectangle paper, and then trimming it down to the square I wanted.
- I purchased Mod Podge, both to glue the images onto the tiles and to create an initial layer on the top of the coaster. I used glossy. However, it is important to note that Mod Podge is not waterproof. So for coasters that are not just decorative, you need a more waterproof topcoat.
- I bought a Ceramcoat gloss exterior/interior varnish for the actual topcoat layers, figuring that anything meant to protect outdoors could probably stand up to some condensation from glassware.
- For padding on the bottom of the coasters--so that they wouldn't scratch the table whist providing protection from water-rings--I get some self-adhesive felt. Fuzzy on one side and sticky on the other.
- I used a foam brush, though other kinds of brushes might have put fewer texture lines in the glossy finishes.
Here is my process:
1. Cut images to be 4inch squares. Hint: use a paper-cutter to get a nice straight line.
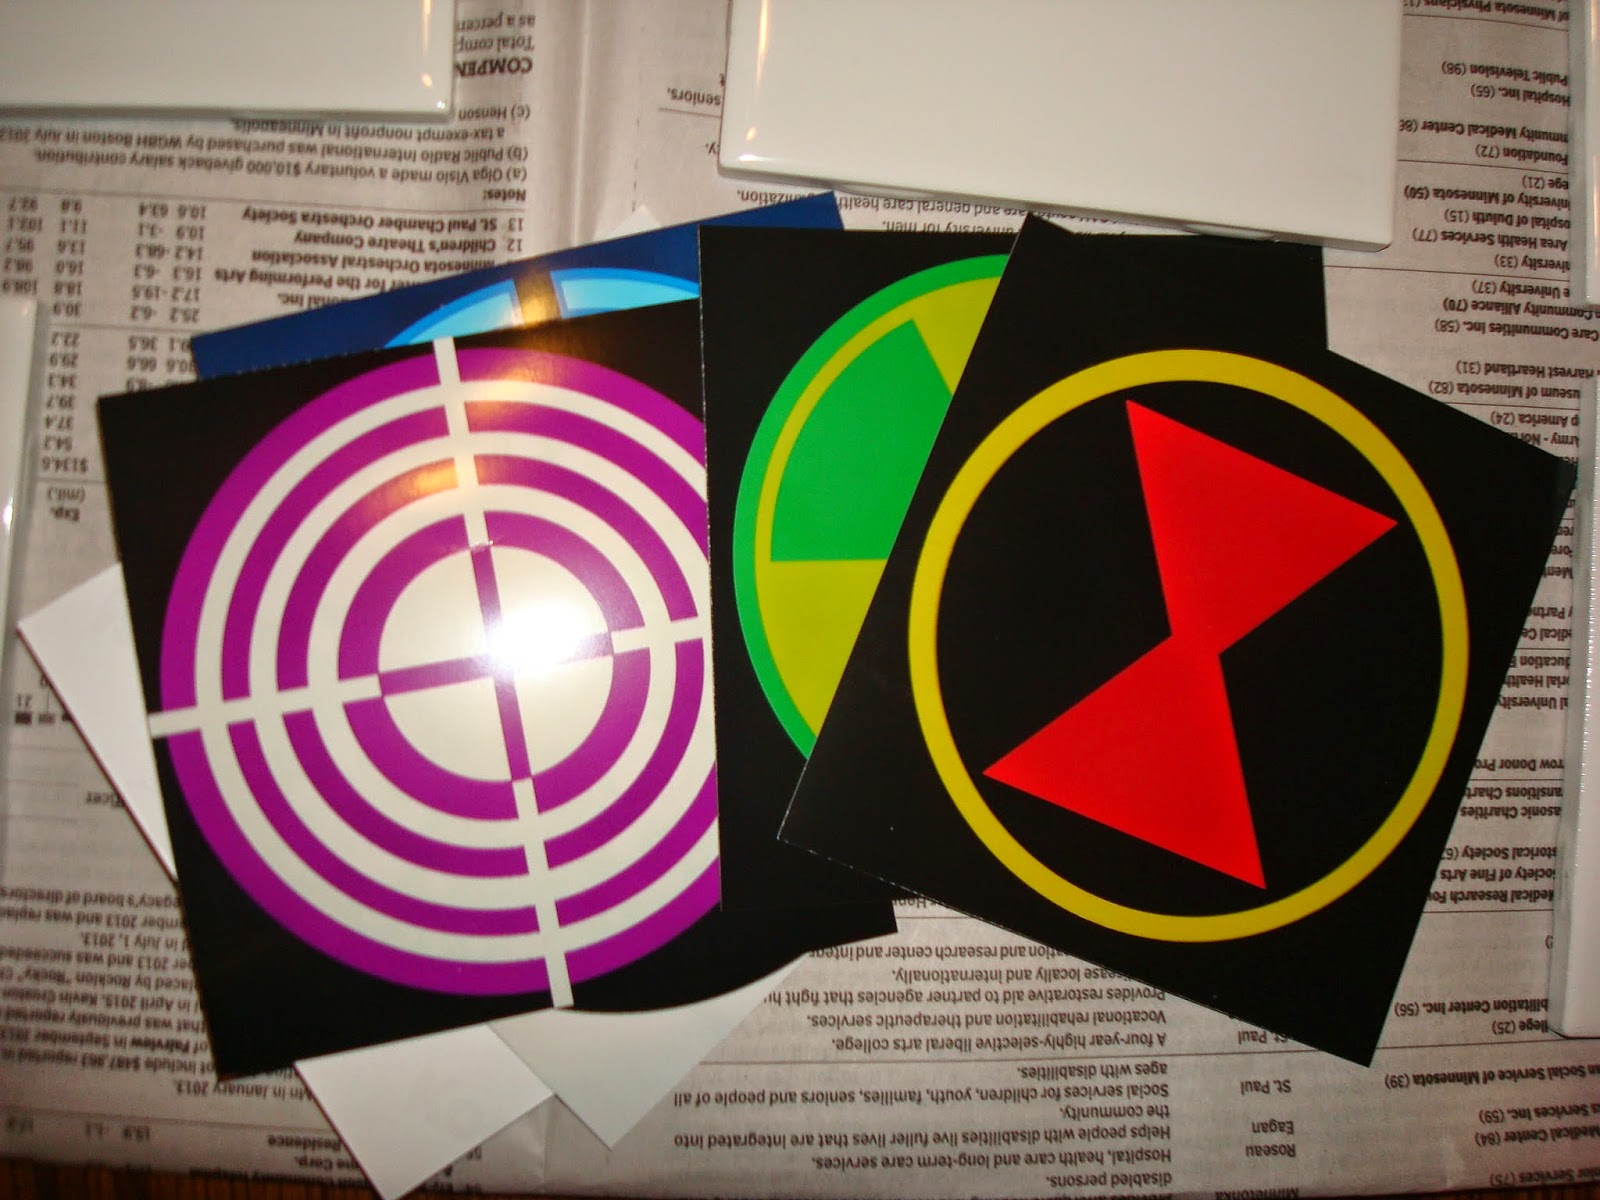
2. Lay out tiles on newspaper so that you can work quickly and efficiently.

3. Coat the reverse side of the image with an even coating of the ModPodge and affix to tile, centering it and smoothing out any bubbles, extra glue, etc.

4. Coat with multiple coats of ModPodge, being sure to make it as even as possible and not forgetting to coat the edges. The ModPodge goes on opaque white, but dries clear. See Capt. America image below. Also, be sure to let the ModPodge dry completely between layers. With my house's heat on, the coats dried very quickly. Also, be sure to pick up tiles after a layer is dry so that they don't stick to the newsprint. If some sticks on, just rub or smooth it off the bottom and/or edges


5. When the last ModPodge layer is dry (I did 3 layers), start layering on the varnish layers. (I added 3 varnish layers, too.) Again, make sure one coat is dry before adding the next.

6. When all the coating layers are finished, make sure to let them dry/cure out. I let mine do so for the afternoon and then overnight.
7. The final step is adding the felt to the reverse side. I cut the felt into squares just smaller than the 4.25 inch tiles...approximately the same size as my images on the top side.

8.Even though my felt had an adhesive layer, I added a bead of superglue to each corner, just for added security.

9.And there you have it, a customized set of utilitarian coasters. Form and function unite!!

These look great! I made UNC coasters for Xmas last year and have gotten requests for more. Mine had one problem of sticking to the bottom of wet glasses. This may be due to using clear spray paint as the sealer. Next time I'll put a little salt on after the first coat of paint. Hopefully that will work. Alison B.
ReplyDelete